How to Install a Train Horn on an Electric Bike
Train horn install for an e-bike — handlebar electronic horn vs 12V air horn powered from the e-bike battery, voltage matching, accessory port wiring, weatherproofing.
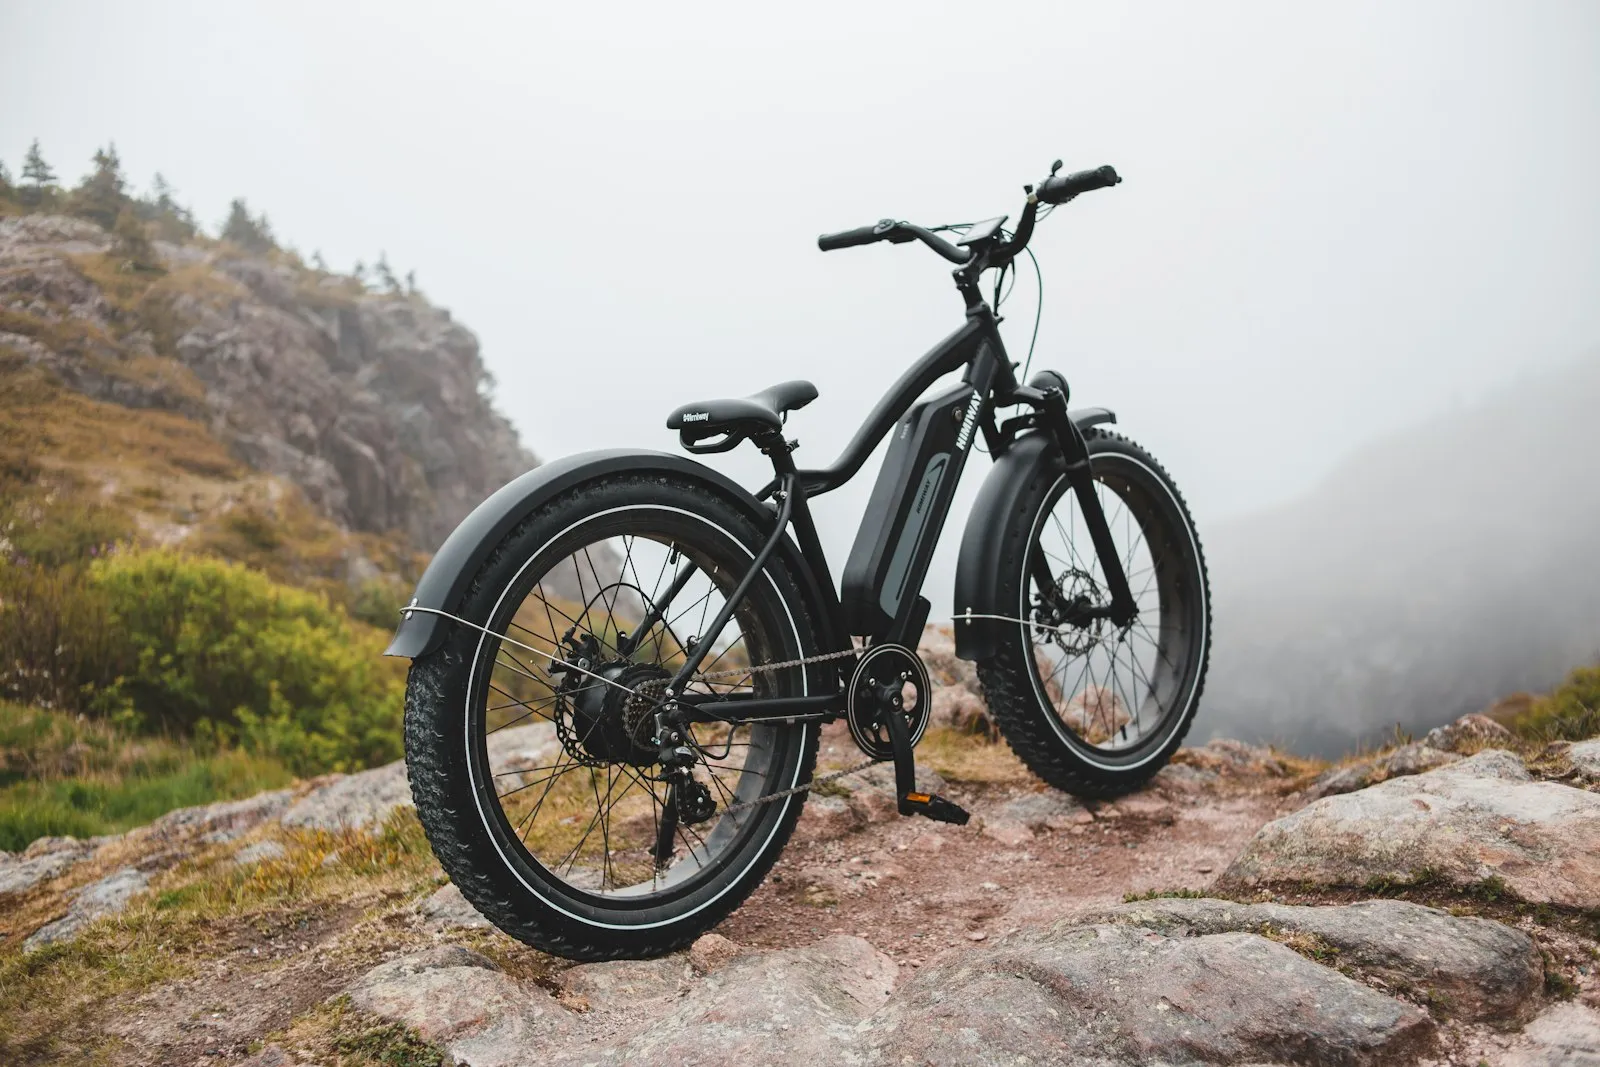
An e-bike can host either a self-contained electronic bicycle horn (the simplest option, see bicycle install guide) or a 12V air-powered motorcycle-grade horn powered from the e-bike’s main battery via a DC-DC step-down converter. The 12V air horn route gives you 130–142 dB output — louder than any pure-electronic bicycle horn — at the cost of more wiring complexity. This guide covers the 12V route specifically; for handlebar-only installs see bicycle.
- Difficulty
- Moderate
- Voltage step-down + wiring
- Time
- ~1 hour
- For 12V air horn install
- Cost
- $80–$250
- Compact horn + step-down + wiring
- Output
- 130–142 dB at source
- For motorcycle-grade compact horn
- Power
- 12V via step-down
- From 36V/48V/52V e-bike battery
- Best mount
- Frame-down or rear rack
- Within reach of trigger wire
Two install paths for e-bikes
E-bikes split into two install categories:
Path A — Self-contained electronic bicycle horn (simpler)
Use a Loud Bicycle Mini, Hornit dB140, or similar handlebar-mounted unit. Doesn’t connect to the e-bike’s electrical system. Same install as a regular bicycle — under 30 minutes, no voltage step-down needed.
Output: 110–130 dB at source. Good for traffic safety, not as loud as motorcycle-grade options.
Path B — 12V air horn powered from e-bike battery (this guide)
Mount a compact motorcycle-grade air horn (HornBlasters Compact, MotoHorn, HK 150 dB Snail, etc.) on the frame downtube or rear rack, powered by the e-bike’s main battery via a DC-DC step-down converter. Most modern e-bikes run 36V, 48V, or 52V batteries — too high for a 12V horn directly, so a step-down converter is required.
Output: 130–142 dB at source, depending on horn choice.
DC-DC step-down converter
The key component for Path B. Specs to verify:
- Input voltage range — must cover your e-bike’s nominal voltage with margin (e.g., a 48V battery is 41–54V actual)
- Output voltage — 12V regulated
- Output current — at least 5 A continuous (compact air horn draws 3–5 A peak)
- Compact form factor — must fit on the e-bike frame or in a frame bag
- Reverse-polarity protection — desirable but not universal
A typical 48V→12V step-down converter for e-bike accessory use costs $15–$30 on Amazon or specialty e-bike parts retailers.
Step-by-step (Path B — 12V air horn install)
This sequence assumes a 48V e-bike with a compact motorcycle-grade air horn mounted on the frame downtube. Total time: ~1 hour.
- Disconnect the e-bike battery at the BMS battery cradle or accessory port.
- Identify a 12V accessory output if available. Some e-bikes (especially mid-drive Bosch and Bafang systems) have a 12V or 6V accessory port for lights — verify your specific e-bike’s wiring.
- If no native 12V output, install the DC-DC step-down converter. Mount it to a flat frame surface or inside a frame bag. Wire the input to the e-bike’s main battery via the BMS accessory tap.
- Mount the air horn on the frame downtube (standard waterbottle bottle-cage mount works) or rear rack. Trumpet outlet pointing forward and slightly down. Avoid pinch points on rear suspension travel.
- Wire the horn from the step-down converter’s 12V output to the horn + terminal via a 5A inline fuse. Ground the horn to the same step-down converter’s 0V terminal (don’t use the e-bike frame as ground unless you’ve verified the frame is bonded to battery negative).
- Mount the trigger button on the handlebar — a 5–10 A rated SPST momentary push button is sufficient. Wire it inline between the step-down converter output and the horn.
- Heat-shrink every connection. E-bikes see weather; bare connections fail within a season.
- Reconnect the e-bike battery and test the horn. The compressor should build pressure within 1–2 seconds after the trigger press.
- Verify under handling. Take a short test ride to ensure the horn doesn’t loosen, the trigger button is responsive, and the wiring doesn’t snag on the suspension.
Common e-bike install problems
Distilled from Endless Sphere DIY EV Forum and ElectricBikeReview community threads:
- Step-down converter overheats. Some cheap converters thermally throttle under sustained load. Mount in a ventilated location; verify the rated continuous output is above the horn’s draw.
- Voltage spike from regenerative braking. E-bikes with regen can briefly send the battery voltage above nominal. Use a step-down converter with input range that covers the regen voltage spike (typically 1.2× nominal). Some converters have surge clamps.
- Frame ground fails on aluminum frames. Aluminum corrodes at the ground contact and develops resistance over time. Run a dedicated ground wire to the converter’s 0V instead of using the frame.
- Trigger button false-fires on rough terrain. Use a button rated for vibration (Carling-class or industrial-grade). Bicycle thumb-button quality varies widely.
- Battery BMS shuts off the accessory tap. Some e-bike BMS modules disable the accessory output below a certain SOC to protect the cells. Verify your BMS allows accessory power down to your normal usage SOC.
- Horn weight affects bike handling. A 1 lb horn on the downtube vs handlebar shifts the bike’s CG. Most riders adjust quickly; verify in low-speed parking-lot maneuvering before street use.
Legal and ethical notes
E-bikes are typically classified as bicycles under U.S. state law (Class 1, 2, 3 e-bike rules), so the same horn rules as bicycles apply:
- Audible warning device generally required or allowed
- Output caps usually unspecified for bicycles
- Local noise ordinances may apply
A 130–142 dB air horn on an e-bike used at full output near pedestrians is loud enough to cause real hearing risk to bystanders. Use only for emergency safety alerts. See the legal hub and hearing-damage guide for context.
Sources
- Endless Sphere — How to install 12V motorcycle horn on e-bike discussion (community-sourced step-down + wiring guidance)
- HornBlasters — Motorcycle Horns landing page (compact 12V air horn options applicable to e-bikes)
- HornBlasters — Wiring the Motorcycle & Truck Electric Air Horns (relay topology adaptable to e-bike step-down install)
For the universal motorcycle install (which the e-bike pattern adapts) see /install/by-vehicle/motorcycle-generic/. For the simpler self-contained bicycle approach see /install/by-vehicle/bicycle/.
We do not perform hands-on installs. Verify the e-bike manufacturer’s accessory-power specifications before tapping the main battery.