Paint or Powder Coat Train Horn Trumpets Without Killing the Sound
How to paint or powder coat train horn trumpets safely: what to strip and mask, cure temps, why ABS can't be powder coated, and how to keep the horn sounding right.
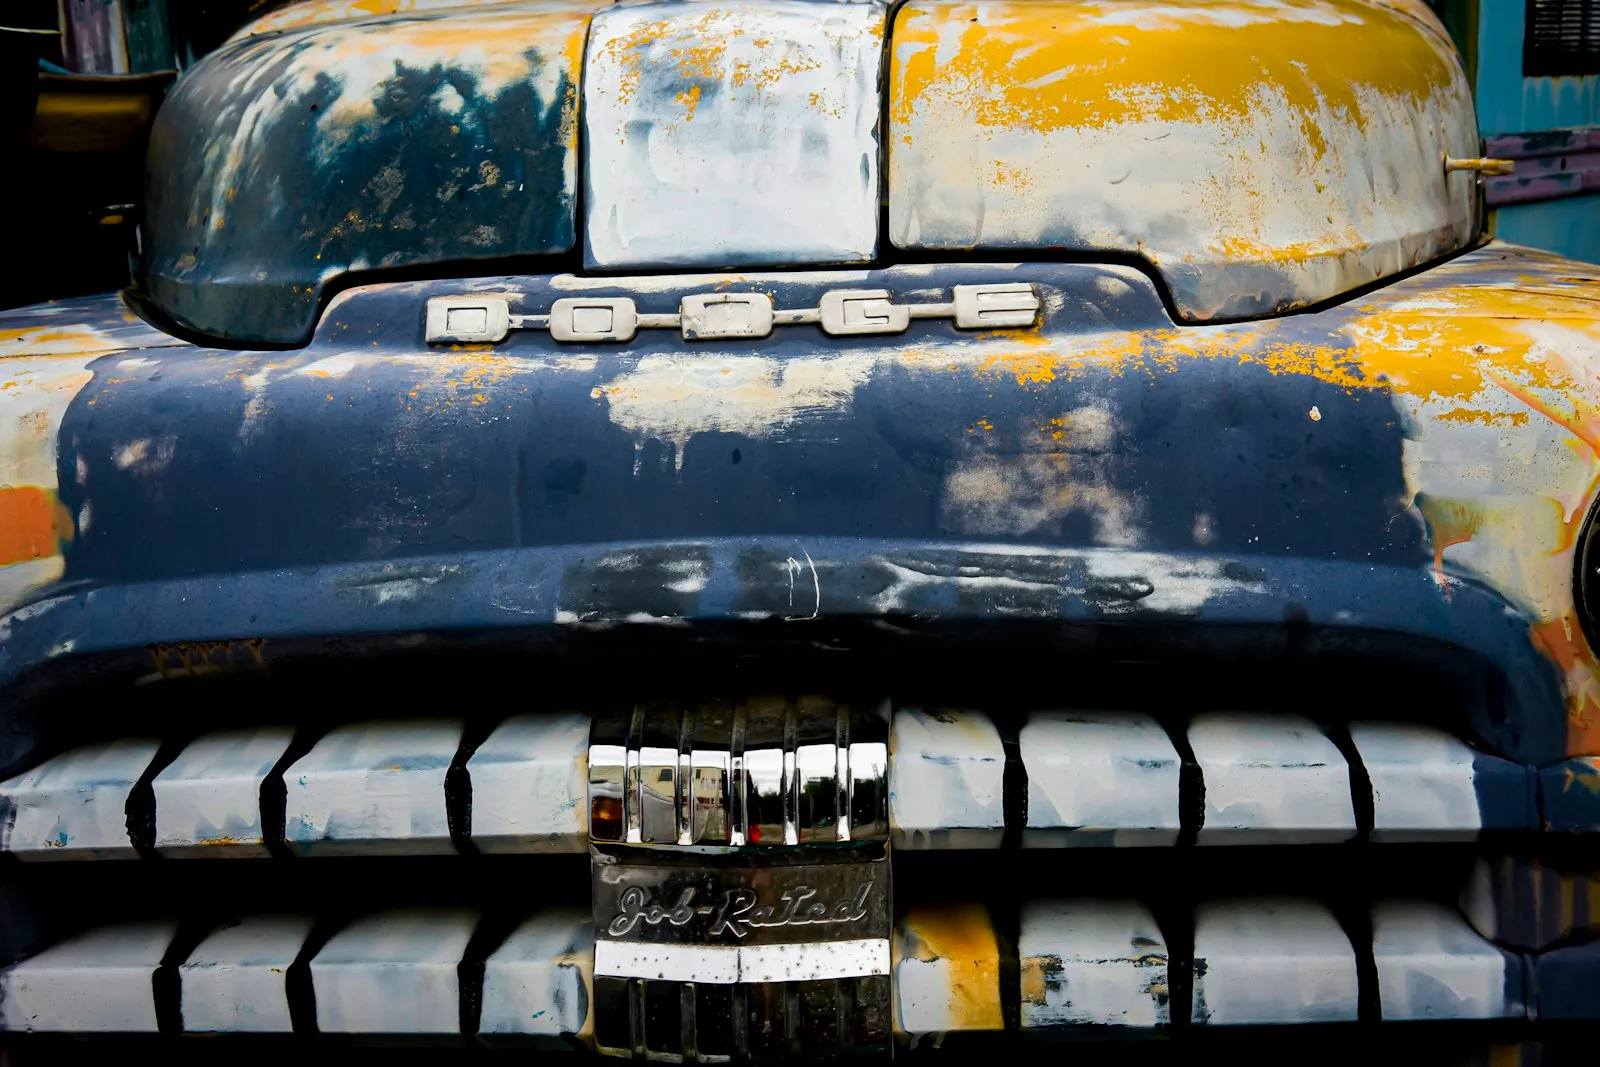
Painting or powder coating train horn trumpets is one of the easiest ways to make a kit match your truck, but get the prep wrong and you can end up with a beautiful horn that wheezes, leaks, or won’t sound at all. The good news: the finish on the outside of a bell almost never changes the note. What kills the sound is coating getting where it shouldn’t, or heat cooking parts that were never meant to see an oven.
Why the Finish Itself Won’t Change the Note
To know what you can safely coat, it helps to know where the sound actually comes from. Per Wikipedia’s train horn entry, compressed air flows through a narrow gap between a nozzle and a circular diaphragm. The diaphragm vibrates against the nozzle, and the flared bell amplifies the resulting sound waves. The bell’s length sets the wavelength of the standing wave in the air column, so a longer bell plays a lower note. Wall thickness and diameter also play a part. The same entry notes that one maker’s heavier castings gave its horns a richer timbre than a rival’s equivalents.
A coat of paint or powder on the outside of a cast or molded bell doesn’t change the bell’s length, and it adds very little to its wall thickness. So it won’t move the pitch in any way you’ll hear. Real-world proof: HornBlasters’ reconditioned Nathan AirChime K5LA horns are sandblasted and finished in new black powder coat, per the company’s product page, and they’re still sold as working five-chime locomotive horns.
What actually ruins the sound is almost always one of these:
- Coating on the diaphragm or its seat, which changes how the diaphragm sits against the nozzle
- Coating on gasket faces or between the bell and the horn body (the power chamber), which causes air leaks that bleed off pressure
- Powder or paint in the air-inlet threads, so fittings won’t seal or thread in
- Oven heat on rubber, silicone, or plastic internal parts
- Thick runs and drips pooled deep in the bell throat
Identify the Material Before You Pick a Finish
Your trumpet material decides whether powder coating is even on the table. Our trumpet material comparison goes deeper, but here’s the short version for finishing:
| Trumpet material | Powder coat? | Best finish |
|---|---|---|
| Cast aluminum (locomotive horns) | Yes, with internals removed | Powder coat or paint |
| Zinc alloy or chrome-plated metal | Yes, with internals removed | Powder coat or paint |
| ABS or fiberglass-reinforced ABS | No (oven heat too high) | Bonding paint for plastic |
| Chromed ABS plastic | No | Scuff, adhesion promoter, paint |
The plastic line is the one that trips people up. HornBlasters’ Shocker trumpets, for example, are fiberglass-reinforced ABS with stainless steel internals, per the company’s product page. According to Wikipedia’s ABS entry, the plastic has a glass transition temperature of about 221°F (105°C), and it’s normally used up to about 176°F (80°C). A typical powder cure runs at 400°F. That’s far past the point where ABS softens and loses its shape.
Even the “low-temperature” route doesn’t really save you. In a Products Finishing Q&A on powder coating plastics, the author says the plastic must withstand 250°F to melt the powder before it’s UV-cured. That’s still above ABS’s glass transition. Paint ABS. Don’t bake it.
Strip It Down: What Comes Off Before Coating
Never powder coat or paint an assembled horn. The bells have to come off the horn body, and every soft or moving part has to come out: diaphragms, gaskets, O-rings, cushion rings, and diffuser rings. HornBlasters’ K5LA reconditioning process lists diffuser rings, diaphragms, and cushion rings among the parts it replaces when it refinishes horns.
A vintage-motorcycle forum shows what happens when you skip this. The poster had the cadmium-plated diaphragm and related internal parts of a 1953 Harley-Davidson horn powder coated. After reassembly, the horn would not cycle. He finally got it working after he removed the coating from the inside surface of the diaphragm, where it touches the horn body. That’s an electric horn, not an air horn, but the lesson carries over directly. A diaphragm only works if it seats exactly the way it was designed to.
Older locomotive horns often need new soft parts anyway, so plan to buy fresh gaskets and diaphragms while the horn is apart, and bag and label every part as it comes off.
Masking: Protect the Surfaces That Make the Sound
Masking is where the job is won or lost. Before any coating goes on, cover these:
- The air-inlet port and any threaded bores, with silicone plugs or caps sold for powder coat masking
- The diaphragm seat and the face where the bell meets the horn body
- Every gasket surface and bolt hole
- Any machined nozzle surfaces on the horn body
For flat faces, use a polyester masking tape made for powder coating. 3M’s Polyester Tape 8992 is one example; distributor listings describe it as built for high-temperature masking jobs like powder coat painting, with a backing that leaves a sharp paint line. Whatever plugs and tape you use, check that their heat rating covers your cure temperature. Ordinary painter’s tape and household rubber stoppers don’t belong in a curing oven.
The inside of the bell is a judgment call. A thin, even coat inside the flare is fine, and it protects bare metal. Just keep the narrow throat near the horn body clear, and never let paint pool there.
Powder Coating Metal Bells: Heat, Time and Outgassing
If you’re doing powder coat yourself, a few numbers matter. Eastwood’s HotCoat powders mostly cure at 400°F for 20 minutes after flow-out, per the product listing. The same listing says to never use an oven that is used for food, and it rates the cured finish as heat resistant up to 250°F. Use a dedicated oven.
The 20-minute clock starts when the part hits temperature, not the oven. In ChemQuest’s “Ask Joe Powder” column, the author explains that a thin sheet-metal fender may reach 400°F in 2-3 minutes, while a heavy alloy wheel may take about 30 minutes. A thick cast-aluminum locomotive bell sits much closer to the wheel end of that range. Check the metal with an infrared thermometer before you start timing. Undercured powder is soft and chips easily.
Castings bring one more problem: outgassing. Products Finishing explains that it comes from air trapped in the casting’s surface pores. That air expands as the part heats and leaves pinholes or blisters in the film. Pre-baking above cure temperature before you coat has given results that range from very good to ineffective, per the same article. Lower cure temperatures, powders with an outgassing additive, or a primer plus topcoat can also help. If your first coat on an old Nathan or Leslie bell comes out pockmarked, this is almost certainly why.
Two practical notes:
- Painting or powder coating a horn mount? HornBlasters’ Ram 3500 mount instructions say to test-fit the mount before powder coating it, and that HornBlasters doesn’t cover powder-coating fees on horn mounts.
- Re-tap or chase threads after coating if any powder got past the masking, rather than forcing fittings in.
Painting ABS and Chromed-Plastic Trumpets
For plastic bells, paint is the only answer, and adhesion is the whole game. Scuff the surface lightly, degrease it, and then use either a bonding paint made for plastic or an adhesion promoter under a regular topcoat. Dupli-Color’s Plastic Adhesion Promoter, for example, is sold to improve adhesion of enamel and lacquer topcoats on plastic and chrome. The label calls for spraying from 8-10 inches. It’s dry to the touch in 20 minutes and ready to handle in an hour.
Keep every coat light. Heavy wet coats on plastic run, and runs inside the bell throat are exactly where you don’t want buildup. If you’re working with flaking fake chrome or bells that need cleanup first, our guide to cleaning and restoring train horn trumpets covers stripping, scuffing, and the bonding-paint process step by step.
Reassembly and the Sound Test
Give paint its full cure time before reassembly. Fresh paint under a bolt-on bell or bracket can imprint or tear. Then put it back together carefully:
- Pull all masking and check every sealing face. Any coating on a gasket or diaphragm seat gets removed now, not after it leaks.
- Install new gaskets and diaphragms in the original orientation.
- Torque bell bolts evenly so the coated flange doesn’t crack or rock.
- Reseal the inlet fitting with fresh thread sealant.
- Bench test before the horn goes back on the truck. Listen for hissing at each joint and for a clean, full note from every bell.
Our bench test and first-fill guide walks through that leak check. If one trumpet sounds weak or breathy after refinishing, look at its diaphragm seat and gasket first. That’s where stray coating usually ends up. Once everything sounds right, mount the bells angled down so water drains out. Our train horn waterproofing guide covers keeping water out of the diaphragms, which matters more than ever once you’ve put work into the finish.
Keep reading
- How to Clean & Restore Train Horn Trumpets: Chrome, Rust & Repaint
- Train Horn Trumpet Material: ABS vs Aluminum vs Zinc vs Brass
- Are Train Horns Waterproof? Rain, Car Washes & Water Protection
- Buying a Used Locomotive Horn on eBay: K5LA & RS-3L Checklist
- Nathan AirChime K5LA Review
Sources
- Wikipedia: Train horn — how the diaphragm, nozzle and bell produce sound; bell length, thickness and diameter set the note; heavier castings and timbre
- HornBlasters: Nathan AirChime K5 train horn — die-cast aluminum bells, stainless diaphragms; reconditioning with sandblasting, new black powder coat, and replaced diffuser rings, diaphragms and cushion rings
- HornBlasters: Shocker S6 train horn — fiberglass-reinforced ABS composite trumpets with stainless steel internals
- Wikipedia: Acrylonitrile butadiene styrene — ABS glass transition about 221°F (105°C); typical service limit about 176°F (80°C)
- Products Finishing: Powder Coating ABS Plastic and Teflon — plastic must withstand 250°F to melt powder before UV curing
- ChemQuest “Ask Joe Powder”: Cure time and oven temperature — 20 minutes at 400°F measured at metal temperature; fender 2-3 minutes vs alloy wheel about 30 minutes to reach temperature
- Eastwood HotCoat High Gloss Jet Black powder (Frost listing) — 400°F for 20 minutes after flow-out; never use a food oven; finish heat resistant to 250°F
- Products Finishing: How to Limit Outgassing on Castings — outgassing caused by trapped casting porosity; mixed preheat results; lower cure temps, outgas agents, primer plus topcoat
- 3M Polyester Tape 8992 (TBP Converting) — polyester tape for high-temperature masking such as powder coat painting; sharp paint line
- HornBlasters 2014-2018 Ram 3500 horn mount instructions (PDF) — test-fit before powder coating; HornBlasters does not cover powder-coating fees on horn mounts
- Antique Motorcycle Club forum: 1953 Panhead horn — powder-coated diaphragm parts stopped the horn from cycling until coating was removed where the diaphragm meets the body
- Dupli-Color Plastic Adhesion Promoter — improves enamel and lacquer adhesion on plastic and chrome; 8-10 inch spray distance; dry to touch 20 minutes, handle in 1 hour
Frequently asked questions
Quick answers to the questions people ask most about this topic.
- Does painting a train horn change the sound?
- Not on the outside of the bell. Pitch comes from the bell's length and the diaphragm vibrating against the nozzle, so a thin exterior coat won't change it in any way you'll hear. Sound problems after painting usually come from coating on the diaphragm seat, gasket faces, or inlet threads, or from heavy paint pooled in the bell throat.
- Can you powder coat plastic train horn trumpets?
- No. ABS softens at about 221°F (105°C), and typical powder coatings cure at around 400°F. Even UV-cure powders need the part to survive about 250°F. Use a plastic bonding paint or an adhesion promoter under a regular topcoat instead.
- Do I need to remove the diaphragm before powder coating a horn?
- Yes. Take the bells off the horn body and remove the diaphragms, gaskets, O-rings, cushion rings, and diffuser rings before coating. Mask the diaphragm seat and sealing faces, since coating there can keep the diaphragm from seating, and the horn may not sound at all.
- Why does powder coat bubble on cast aluminum horn bells?
- That's outgassing. Air trapped in the casting's surface pores expands during cure and blows pinholes or blisters through the film. Pre-baking the part, using a lower-cure or outgas-additive powder, or applying a primer before the topcoat can reduce it.
- What temperature do you cure powder coat on horn parts?
- Many hobby powders, including Eastwood HotCoat, cure at 400°F for 20 minutes after flow-out. Start timing only when the metal itself reaches 400°F. Thick castings can take far longer to heat than thin sheet metal, so check the part with an infrared thermometer, and never use a food oven.
Related reviews & guides

How to Clean & Restore Train Horn Trumpets: Chrome, Rust & Repaint
Should You Oil a Train Horn Solenoid? Air-Tool Oil vs 3-in-1

Train Horn Compressor Runs but Won't Build Pressure: How to Fix It
Teflon Tape vs Pipe Dope for Train Horn Fittings: Which Seals Better?
Train Horn Compressor Intake Filter: Clean, Replace & Relocate It