Where to Mount a Train Horn Compressor: Heat, Water & Vibration
Where to mount a train horn compressor so it stays cool, dry, and quiet: heat clearance, sealed vs. non-sealed units, upright orientation, and vibration isolation.
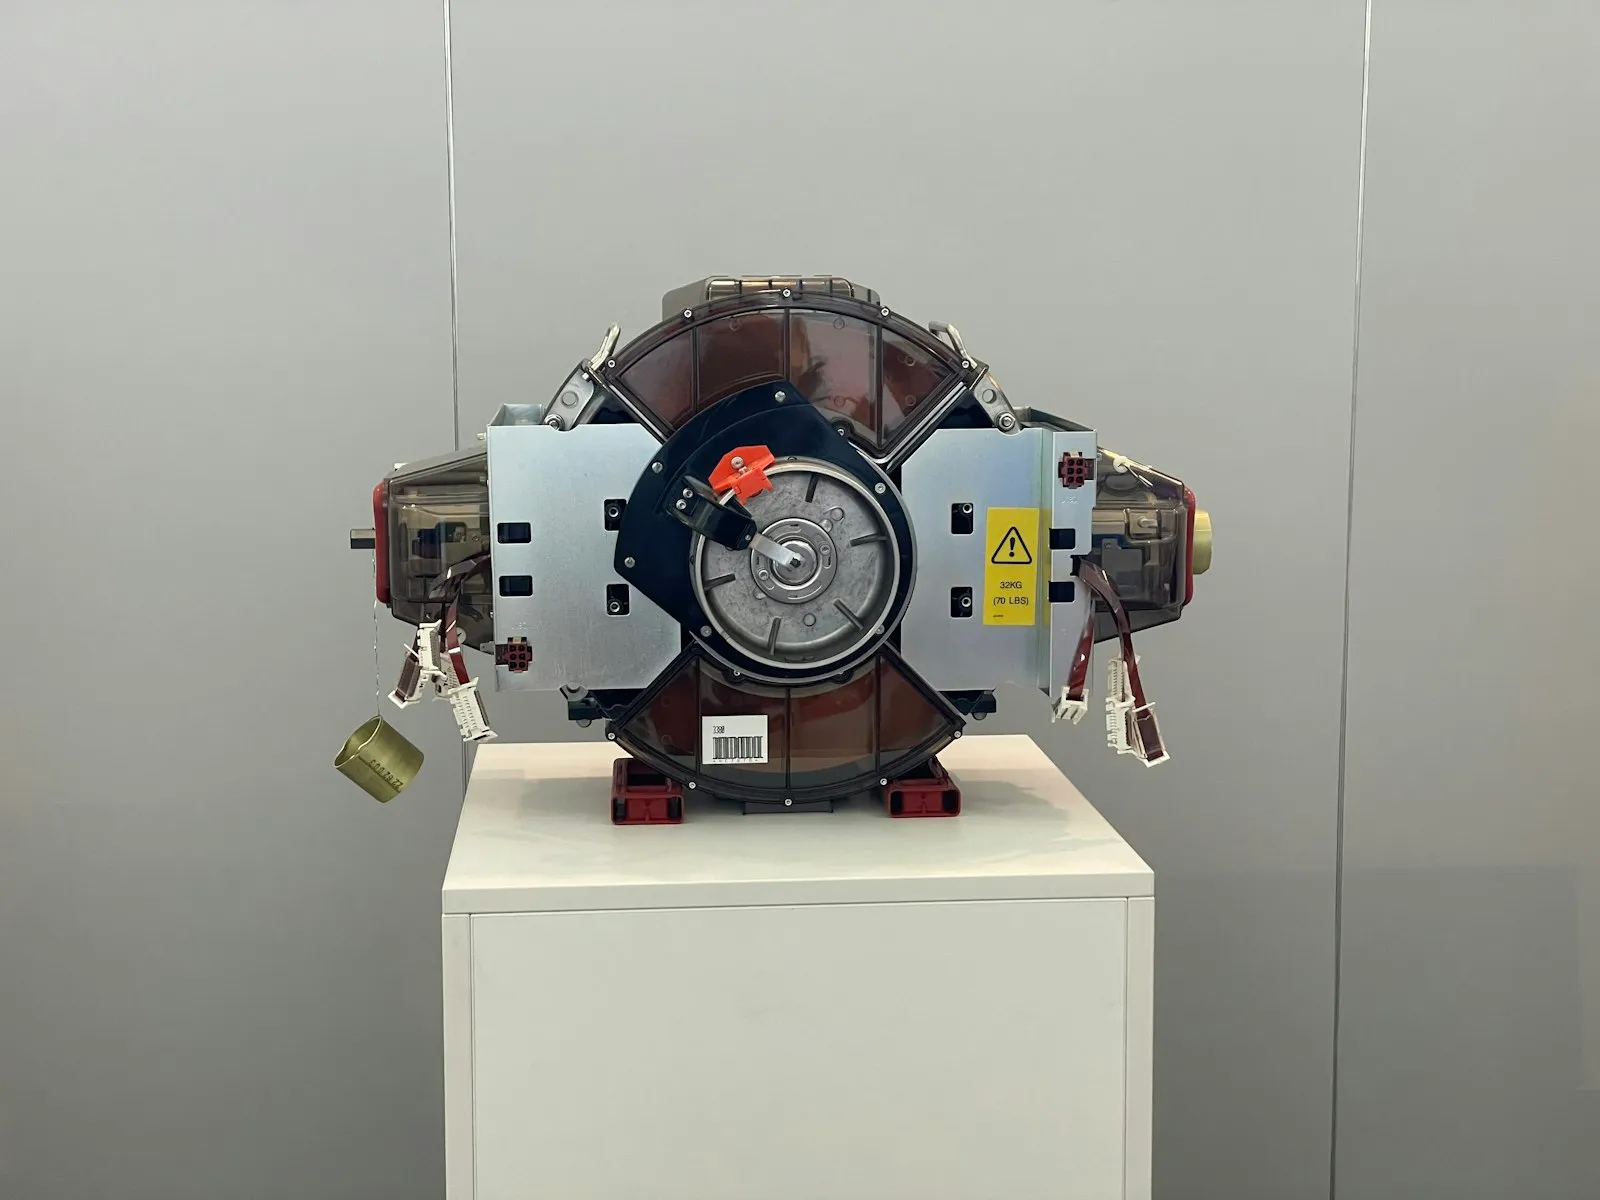
Where you mount a train horn compressor decides whether it lasts for years or dies in a season, because the motor hates four things: heat, water, running upside down, and sheet metal that shakes. This guide covers each one using the mounting rules from Viair and Kleinn manuals, then ranks the real-world spots on a truck, SUV, or car.
The four things that shorten a compressor’s life
Every compressor manual in this niche opens with a “Guidelines for Selecting Mounting Location” section, and the wording is nearly identical between brands:
- Heat. A hot location eats into the duty cycle and trips the thermal overload sooner.
- Water and grit. Most compressors are moisture resistant, not waterproof, and a wheel well is the worst place on the vehicle for them.
- Inverted mounting. Upside down is the one orientation both Viair and Kleinn explicitly say not to use.
- Vibration on body panels. A compressor screwed to a fender or floor pan turns the whole cab into a speaker.
Get one wrong and you will be reading our thermal overload troubleshooting guide sooner than you’d like.
Heat: why the engine bay is a compromise
The Viair 325C through 450C manual tells you to “choose mounting location that is as cool as possible and away from heat sources,” and adds the reason in plain words: the cooler the ambient temperature, the less chance the compressor will overheat. Every duty-cycle number on a spec sheet is measured under mild conditions. Per Viair’s FAQ, published performance data is determined at an ambient temperature of 72°F. The 400C, for example, is rated for a 33% duty cycle at 72°F and 100 PSI, which the manual spells out as 20 minutes on and 40 minutes off. Sit that same pump next to an exhaust manifold in July and you will not get 20 minutes.
Both the 400C and the sealed 480C carry a maximum ambient temperature of 158°F and a minimum of -40°F. When the internal temperature climbs past the safe limit, the automatic thermal overload protector cuts power, and both the Viair and Kleinn 6270RC manuals say to switch it off and let it cool for about 30 minutes before resuming.
Practical rules for heat:
- Keep the compressor away from the exhaust manifold, downpipe, and catalytic converter. Assured Automotive’s install guide puts it simply: keep components away from vehicle parts that get extremely hot, like the exhaust.
- Mount upright so heat leaves through the head fins, which is HornBlasters’ standing advice on its install tips page.
- Pick a spot you can reach, because the Viair manual asks you to regularly clean dust and dirt from the cooling fins and motor housing.
- If the engine bay is your only option, use the inner fender or a bracket off the frame rail on the side opposite the exhaust, where airflow is best.
Water: sealed vs. non-sealed compressors
Read the manual language carefully here. Viair’s 325C-450C manual states the compressor “is moisture & dust resistant, but NOT DIRT OR WATERPROOF” and tells you not to mount it where it is likely to come in contact with the elements. Kleinn’s 6270RC manual is even more specific: do not mount the compressor in locations such as behind a tire, where it will meet excessive water or dirt. The same manual then offers the loophole most installers use: the compressor may be mounted underneath the vehicle as long as you use the included remote air intake kit and relocate the intake.
HornBlasters draws the line the same way on its install tips page. Non-sealed compressors must stay dry, and it names the safe spots: trunk, toolbox, topped bed, or cab. It also notes that most tank-mounted compressors are not sealed, while separately mounted compressor and tank setups usually are. Check the product page for your specific kit rather than assuming.
If you want to hang the compressor on a frame rail with no cover, buy a sealed unit and confirm the rating:
| Compressor | Sealing claim | Max pressure | Duty cycle |
|---|---|---|---|
| Viair 480C | IP67 ingress protection | 200 PSI | 100% at 100 PSI, 50% at 200 PSI |
| Kleinn 6275RC | Fully sealed waterproof design, described as submersible | 150 PSI | 50% |
| Viair 400C | Moisture and dust resistant, not waterproof | 150 PSI | 33% at 100 PSI |
Even with a sealed body, the intake still breathes. Both Viair and Kleinn manuals say the remote inlet air filter must be located in a dry location, away from water. Run the supplied intake line up into the cab, behind the grille above the splash line, or into a sealed toolbox. Kleinn adds a bonus in its install tips: using the remote-mount inlet filter can reduce operating noise by up to 25%. Our train horn waterproofing guide covers the tank and horn side of the same problem.
Orientation: upright first, sideways if you must, never inverted
The Viair manual’s first mounting rule is to “select a FLAT, UPRIGHT AND SECURE location.” Viair’s FAQ then relaxes it slightly for oil-less pumps: any direction is workable, and the only position they do not recommend is an upside-down mount, “since heat tends to travel upward, and does not dissipate well in the motor housing.” Kleinn’s 6270RC manual says the compressor can be mounted in any position but not upside down because of excessive heat build-up, and the 6275RC product page lists any layout position except inverted.
There is a second reason to prefer upright beyond heat. Assured Automotive warns that if you mount the unit other than upright, condensation can build up in the check valve, corroding it and shortening its life. Upright lets water vapor move the way the pump was designed for.
The height rule is just as important as the angle. Both the Viair 20001 onboard-air manual and the Kleinn 6270RC manual say to always mount the compressor at a point higher than the inlet port of the tank, so moisture cannot seep back toward the compressor. If your tank sits on a frame rail, the compressor goes above it, not beside it on the same crossmember. Our water trap and air dryer guide explains what to do with the moisture once it reaches the tank.
Vibration: bolt to the frame, not the skin
Assured Automotive’s guidance is blunt: mount the compressor to a frame rail or frame component, because mounting it to a vehicle body panel will cause a vibration inside the vehicle. A pump drumming on a floor pan is loud enough to make you regret the whole project.
- Use the rubber vibration isolators every kit ships with. Viair’s FAQ says to utilize them to keep vibration and noise to a minimum.
- Bolt through all four mounting holes with the supplied bolts, flat washers, lock washers, and nuts. Kleinn recommends thread locker on the hardware.
- Kleinn and Viair share a useful trick: dab paint pen on the rubber isolators, press the compressor against the chassis, and drill on the imprint.
- Secure the braided leader hose with the supplied bracket so it cannot rub wires or other hoses, and never remove it. The Viair manual warns it gets very hot in use.
- Recheck mounting hardware periodically. Both manuals list it as routine maintenance.
If you are drilling frame holes for the first time, read our frame drilling and mounting hardware guide before you start.
Best mounting spots, ranked
Here is how the common locations score against the four rules. The trumpets follow different logic, so for those see our guide on where to mount a train horn on a truck.
| Location | Heat | Water | Vibration | Verdict |
|---|---|---|---|---|
| Cab, under or behind the rear seat | Cool | Dry | Bolt to floor crossmember, use isolators | Best for non-sealed units; needs a longer wire run |
| Bed toolbox or under a tonneau cover | Cool | Dry when closed | Bolt through the bed to the frame | HornBlasters names both as safe spots |
| Trunk (cars, crossovers) | Cool | Dry | Bolt to the spare well or a bracket | Assured Automotive calls it a great option when ground clearance is an issue |
| Frame rail or behind the rear bumper | Ambient | Wet, sealed unit or remote intake required, never behind a tire | Ideal, it is the frame | Assured Automotive’s most ideal spot for trucks with clearance |
| Engine bay | Hot | Mostly dry | Inner fender or frame bracket | Only if well away from the exhaust |
One footnote: Assured Automotive suggests keeping the compressor within 12 inches of an air tank port, which favors locating the compressor and tank together.
Wiring and plumbing limits that decide the spot
The Viair manual’s second mounting rule is to locate the compressor as close to the battery as possible so the positive lead is short. Heat pushes the other way, and the tie-breaker is wire gauge. Kleinn’s manual says if you mount the compressor farther from the battery, such as inside the vehicle or in the bed, use a minimum 10 AWG positive lead. Viair says a relay is strongly recommended and suggests 40 amps or higher per compressor. The sealed 480C draws up to 23 amps at 12 volts, so that headroom is real. Our amp draw, fuse, and wire gauge guide has the full table.
On the air side, Kleinn’s manual says never to install the pressure switch in the direct line from the compressor because tank pressure can be misread. Put it on the tank. On many kits the check valve lives in the leader hose, so that hose stays in the circuit wherever the compressor lands. The full step-by-step is in our guide on how to install a train horn.
Pre-mount checklist
- Confirm whether your compressor is sealed. If not, it goes in the cab, trunk, toolbox, or a covered bed.
- Hold it in place and check for exhaust, headers, and catalytic converters within reach. Move if you feel heat on your hand.
- Orient it upright. Sideways is acceptable per Viair and Kleinn. Inverted is not.
- Verify the compressor sits higher than the tank inlet port.
- Bolt to frame or a crossmember through the rubber isolators, with lock washers and thread locker.
- Route the remote intake filter to a dry spot, ideally inside the cab.
- Size the positive lead for the run, minimum 10 AWG for a remote mount, and fuse it through a relay.
- Clamp the leader hose in its bracket, then bench test before the first full fill.
Sources
- Viair 325C/350C/400C/450C compressor kit user manual (PDF) — mounting location guidelines, “NOT DIRT OR WATERPROOF” language, remote filter placement, 400C 33% duty cycle and 20 on/40 off, 158°F and -40°F ambient limits, 30-minute cool-down, 40-amp relay, fin cleaning
- Viair 20001 200 PSI Ultra Duty Onboard Air System manual (PDF) — mount compressor higher than the tank inlet port, paint-pen isolator trick, upright mounting
- Viair Corp FAQ — upside-down mount not recommended, rubber insulators, performance measured at 72°F, thermal overload protector
- Viair 480C compressor specifications — IP67 rating, 100% duty at 100 PSI and 50% at 200 PSI, 158°F max ambient, 23-amp draw
- Kleinn 6270RC compressor user manual (PDF) — any position except upside down, not behind a tire, under-vehicle mounting with remote intake, 10 AWG remote lead, higher-than-tank-inlet rule, up to 25% noise reduction with remote intake, pressure switch placement
- Kleinn 6275RC waterproof compressor product page — fully sealed waterproof design, submersible claim, 150 PSI, 50% duty cycle, any layout except inverted
- HornBlasters install tips and best practices — mount upright so heat leaves through head fins, non-sealed compressors in trunk, toolbox, topped bed, or cab, tank-mounted compressors usually not sealed
- Assured Automotive train and truck air horn kit install, part 2 — keep away from exhaust, frame rail vs. body panel vibration, check valve condensation when not upright, rear bumper and trunk locations, within 12 inches of a tank port
Keep reading
Frequently asked questions
Quick answers to the questions people ask most about this topic.
- Can you mount a train horn compressor upside down?
- No. Viair and Kleinn both say the compressor can be mounted in any position except upside down, because heat rises into the motor housing and does not dissipate. Upright is the preferred orientation, and sideways is acceptable.
- Can a train horn compressor get wet?
- Only if it is a sealed model such as the IP67-rated Viair 480C or the waterproof Kleinn 6275RC. Standard compressors like the Viair 400C are moisture and dust resistant but not waterproof, so they belong in the cab, trunk, a toolbox, or a covered bed, or under the vehicle only with the intake filter relocated to a dry spot.
- Should the compressor be mounted higher than the air tank?
- Yes. Both the Viair and Kleinn manuals say to mount the compressor at a point higher than the inlet port of the tank so moisture cannot seep back from the tank into the compressor.
- Is it OK to mount a train horn compressor in the engine bay?
- It works if the compressor sits well away from the exhaust manifold and catalytic converter with good airflow. Engine heat cuts into the duty cycle, which is rated at 72°F ambient, and the compressor's 158°F maximum ambient limit is easier to reach under the hood than anywhere else.
- Why does my train horn compressor vibrate the whole truck?
- It is almost always bolted to a body panel instead of the frame. Mount the compressor to a frame rail or crossmember through its rubber isolators, and use the remote intake filter, which Kleinn says can cut operating noise by up to 25%.
Related reviews & guides

Where to Mount a Train Horn on a Truck: Best Spots & Angle

Quiet Train Horn Compressor Noise: Isolators, Mounting & Intake

Train Horn Air Line Routing: Exhaust Heat Clearances & Loom
Dual Compressor Train Horn Setup: Twice the Fill Speed, Worth It?

Stealth Train Horn Install: Hiding Horns, Tank & Compressor